Setting Checkpoints and Viewing Inventory Activity Version
Contents
Overview
A checkpoint is a snapshot of your inventory activity at a point in time. When you set a checkpoint, the application creates a record that contains inventory activity (for each asset location) calculated from the previous checkpoint up to the checkpoint that you just created.
Security
To access organization, department, or asset location data, the organization, department, or asset location must be included in your data profile.
The "Physical" role object controls access to this feature. The minimal security setting for using checkpoints is View.
To set a checkpoint:
- From the Materials Management main Contents, select Warehousing > Checkpoint Inventory Transactions.
The Checkpoint Panel appears (Figure 1):
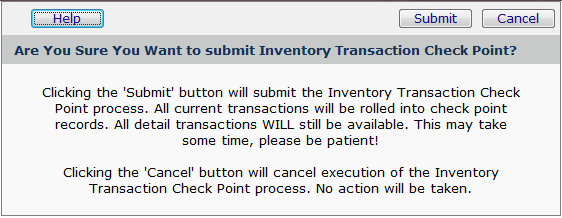
Figure 1 - Setting an Inventory Activity Checkpoint
- Click Submit.
The application sets the checkpoint.
Viewing Checkpointed Inventory Activity
Inventory activity is available by asset location and by item. For an asset location, you can view both checkpointed activity from a previous time and current activity. You can also drill down on current activity for actual transactions.
For an item, you can view the value of the inventory of the item at the last checkpoint.
To view checkpointed inventory activity for an asset location:
- From the Materials Management main Contents, select Tables > Asset Locations.
The list of asset locations appears.
- Locate the asset location of interest on the list.
- Select Menu > View Inventory Activity.
The Inventory Activity panel appears with the Last Checkpoint tab on top (Figure 2). This tab displays the date and time of the last checkpoint, and net inventory activity between that date and the previous checkpoint.
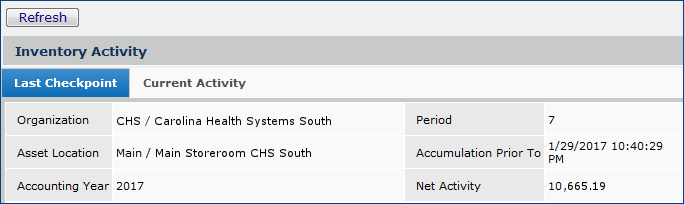
Figure 2 - Date and Time of Last Checkpoint for Asset Location Inventory Activity
The Current Activity tab (Figure 3) shows several categories of activity since the last checkpoint. Click Transactions to drill down on each type of activity. When another checkpoint is set, the current activity categories are rolled up into the value Net Activity on the Last Checkpoint tab.
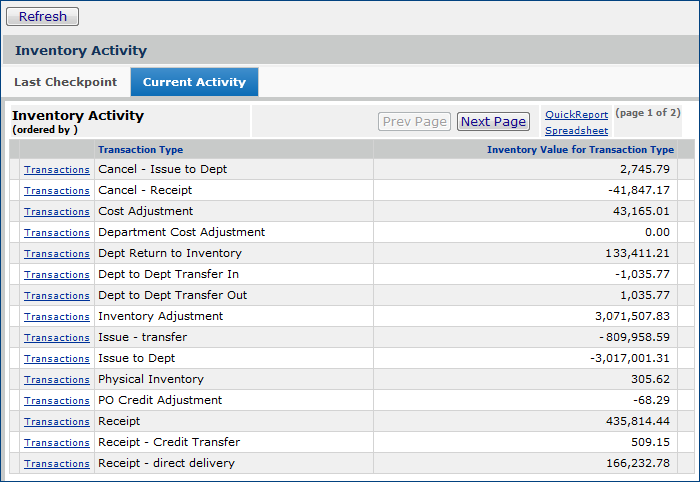
Figure 3 - Inventory Activity Since the Last Checkpoint
To view checkpointed inventory value for an item:
- From the Materials Management main Contents, select Inventory > Item Inventory.
The Item Inventory list appears.
- Use the filters and the Position To link to locate the item of interest.
- Next to the item, select Menu > View Inventory Activity (Figure 4).
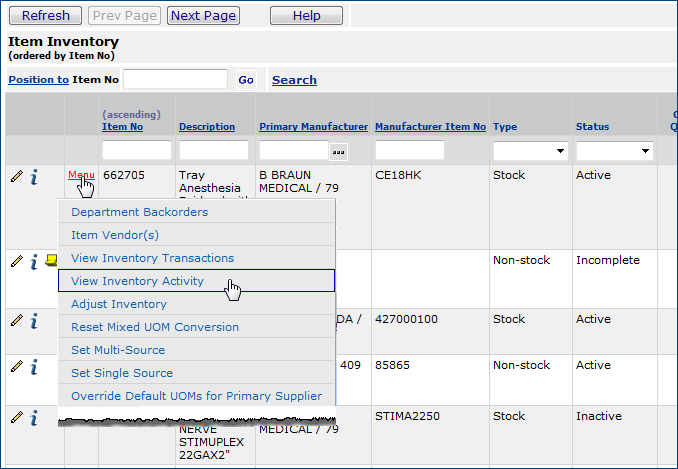
Figure 4 - Item Inventory List: Selecting "View Inventory Activity"
- The Inventory Activity panel appears (Figure 5).
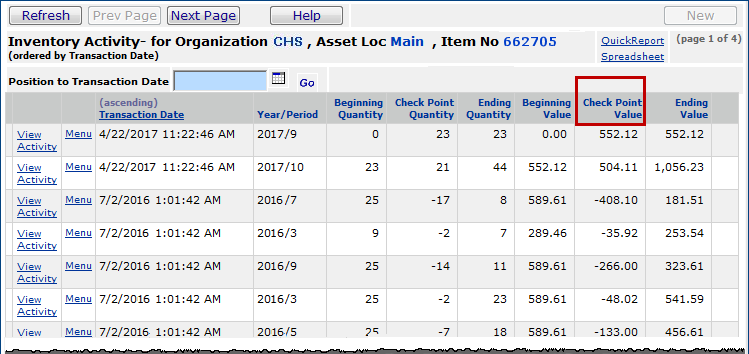
Figure 5 - Inventory Activity for an Item
- The Check Point Value column (red box) shows the value of the inventory of the item at the last checkpoint.
Copyright © 2023 by Premier Inc. All rights reserved.